Showing posts with label Train Case. Show all posts

Mini Makeup Looks~Drama, The Movies, & Katy Perry Inspired

Since I am a Cosmetologist (a frugal one) I always have my eye on the lookout for new Hair and Makeup Products at great prices. Typically I bargain shop at Rite-Aid, CVS, and Walmart and their prices seem to be comparable to each other. With that being said, I will be doing more Mini Makeup Looks for my posts and including the prices of the products I buy AND start showcasing them here on Creative Tizzy.

 Now onto the fun stuff, here are the looks I have put together, they are budget friendly, fun, and are ideas in addition to your everyday makeup routine. I’ve included a couple of pics with closeups of some of the pretties.

Drama PinkMini Makeup Look-Drama Pink with closeup official

Movie Date NightMini Makeup Look-Movie Date Night Candy Coated/ Katy Perry InspiredMIni Makeup Look-Candy Coated Katy Perry Inspired

I had alot of fun with this post, can’t wait to do more,

Enjoy ~Christina

A Mini Makeup Shopping Trip

There’s nothing better than a little retail therapy. That’s exactly what I needed this past week. I love finding cute makeup at frugal prices. Here are a couple of product looks I put together for fall.

The Browns

The Browns NYC looks

The Greens/ Neutrals

The Neutrals elf looks

The Purples

The Purples NYC Looks

This was alot of fun to put together. The Cosmetologist Girly Girl in me is always on the lookout for fun looks. What do you look for in makeup at the store? Do you go for budget and cute. Do you have a hard time putting looks together? Leave a comment…Christina

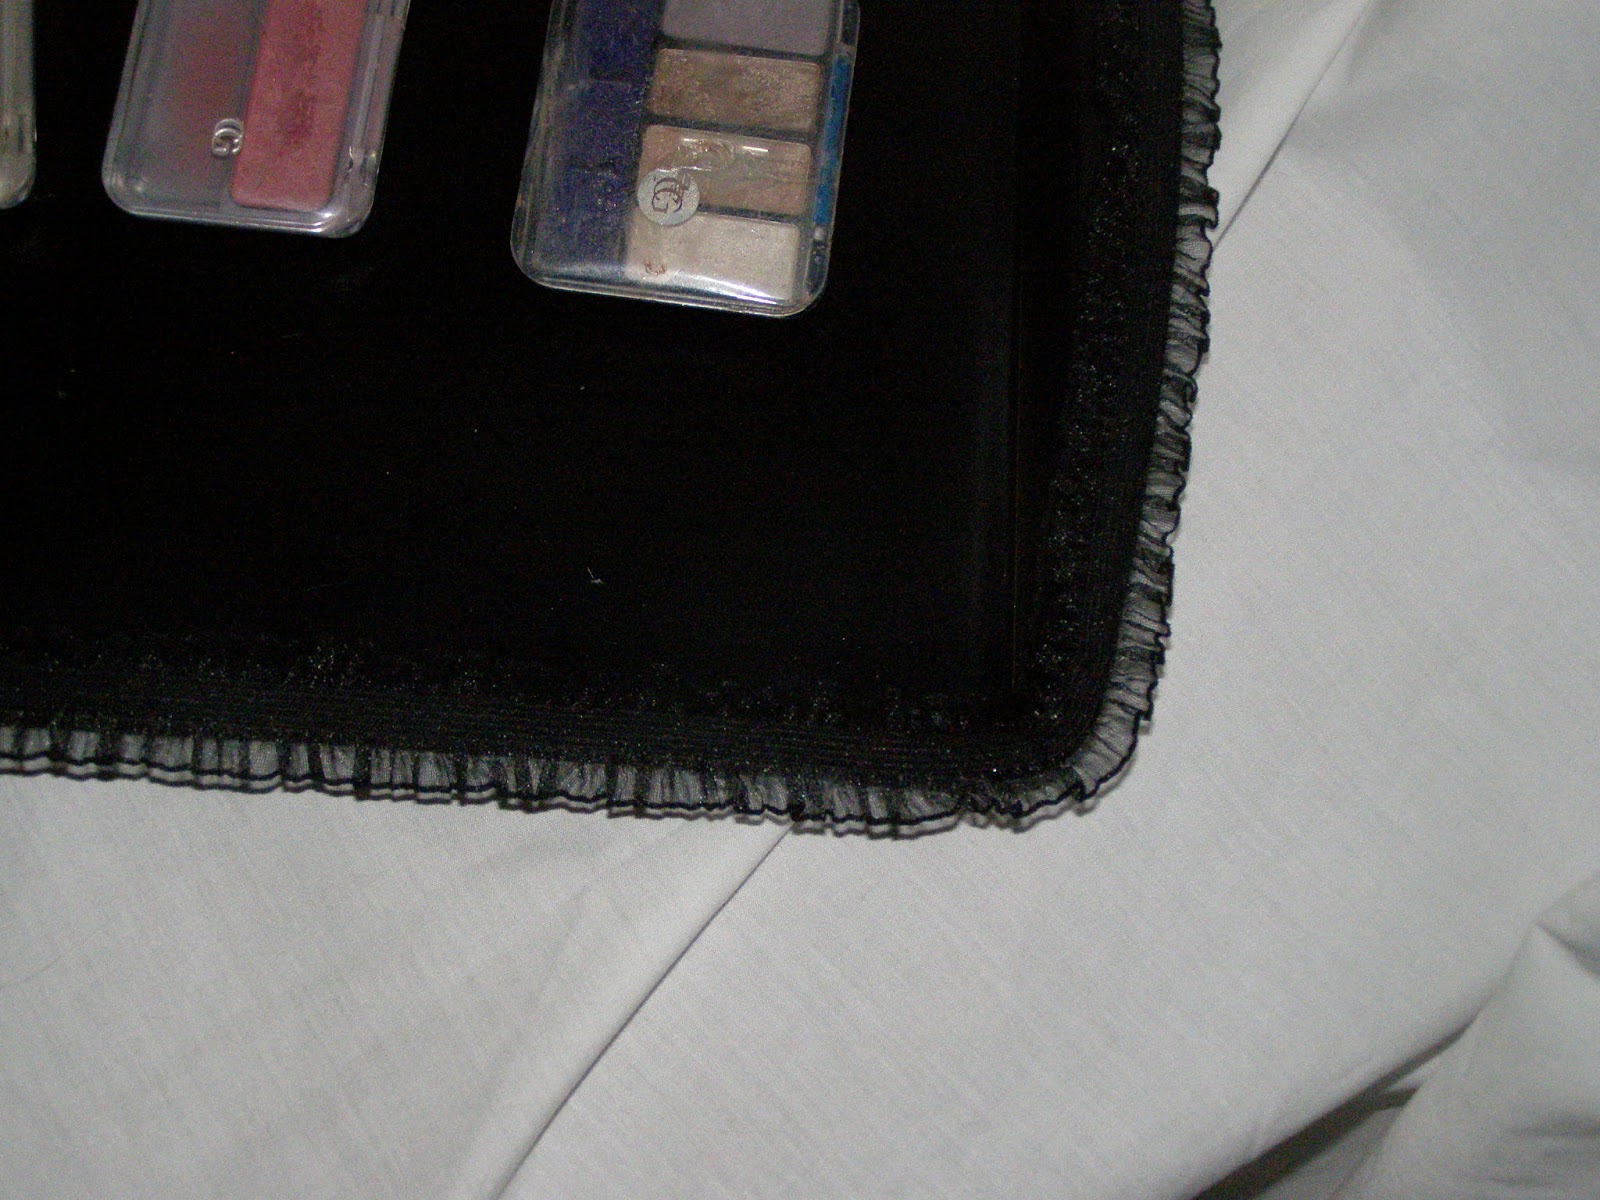
Day 6 CHALLENGE Hanging Magnetic Makeup Trays

Now believe it or not I have been saving my old cookie sheets (rusty as they are) to do something with them. Well I was thinking of painting them and putting magnetic ABC's on them but my kids probably aren't going to use them as my little guy is almost 6 and knows his ABC's so I came across a blog that had makeup trays made with a frame and metal sheeting, well I thought why not skip a couple of steps use ribbon and aluminum cookie sheets and make my daughter and I makeup trays. I thought when I saw the example it was a genius idea so I wanted to put my original spin on it as usual!


Here's what you'll need:
>Cookie sheets (metal) make sure they are free from debris
>Glue gun
>Glue sticks
>Ribbon, I had black elastic frilly trim (the elastic tends to hide the hot glue, you may want to test on your ribbon whether the glue will show through or not) but you could use whatever you want, usually they have trims in the sewing dept. of a craft store
>Paint, this can be any kind/type I am using Black (used this in the accessory holder a couple of Challenges ago) because it matches the decor I am going to use in my daughters room.
 >Magnets, these should be a decent size so they can hold the makeup onto the tray.
>Makeup you want to display on tray


Directions:
Again make sure cookie sheets are free of debris
Spray paint cookie sheets on front, let dry and do under sides and also let dry
While paint is drying hot glue magnets to back of each makeup piece you have
After the paint is completely dry Hot glue the trim/ribbon all the way around the frame, being careful at the corners.
Attach makeup to the trays and your done.
Attaching to the wall you make a hole with a hammer and hit a nail through it with a piece of wood under it, then use a screw to screw directly into wall to make it hang on the wall or you could sit it on a makeup vanity or desk, it's up to you!!


Hope you have fun trying this out. It was Easy and Fun! I thought they turned out really cute and was so impressed when I was done.


Day 3 CHALLENGE Lavender & Lemon Sea Salt Scrub for Hands and Nails

Being the bath/body product lover that I am. I have supplies to make my own goodies for 1/3 of the cost. I was a Practicing Licensed Cosmetologist, for 10 years (glorified term for hairdresser) and although I earned the long title, I only do this on the side now with family and friends. Will I ever go back, well, you never do know. Here is my version of a Lavender & Lemon scented Sea Salt Scrub for Hands and Nails. Supplies: Sea Salt- @Grocery Store, Extra Virgin Olive Oil- @Grocery Store, Sweet Almond Oil-@ www.wholesalesuppliesplus.com, Lavender Lemon Fragrance Oil-@ www.wholesalesupplies.com and container to hold product-@ Grocery Store. I used a Glad mini bowl with lid.
INGREDIENTS:
Extra Virgin Olive Oil is a healthy oil because of its monounsaturated Omega 9 properties and Polyphenol content, which is a wonderful antioxidant helping to fight against skin disease, firming up the skin, and also beautifying it.
Sweet Almond Oil helps to condition the skin to a natural glow. It has a high concentration of oleic and linoleic essential fatty acids, providing instant relief of muscle pain.
Sea Salt can help with tightening, deeper cleansing, and smoothing of the skin, because the granuals of salt help slough off the the dead skin cells in exfoliation.
Fragrance: Lavender Lemon, for smelling fresh and wonderful.
 DIRECTIONS: 
Add Salt to 2/3 Full in container


then add half Sweet Almond Oil 1/3

Add half EVOO 1/3, making 2/3 Oil total
  
Add Lavender & Lemon Fragrance Oil


Mix well again and apply to hand

DIRECTIONS FOR APPLICATION:
Make sure hands are cleaned and free of any cuts, (salt in a wound, well, burns), now you scoop a teaspoon of Salt Scrub onto hands rub for about 30 seconds into hands, around cuticles and on callouses. Turn on water to warm temp and rinse until salt is off, but leave
some oil on, dab hands off with towel. Rub rest of oil into hands, may be a little greasy at first but the hands will absorb throughout the day. Smell them, ahhh! Feels good, huh?! Now if you want to, you could turn it into a mini manicure. Have fun and go pamper your hands
now.

There are some bloggers who have accepted the CHALLENGE to do just one post a day for one month along with me. Who knows maybe I'll have a freebie giveaway to see who has followed through at the end. April 19th official end date.
1. Heather her Blog is
2. Patrish her Blog is
Go check out their Blogs, thanks ladies for following along, Great Job posting!! If you would like to join the challenge just comment on this post and let me know you accept the Challenge and I'll visit your blog. Thanks!

Day 1 of CHALLENGE Decorative Floating Initial Hair Accessory Holder

My daughters 8th Birthday is coming up and I thought I would make something for her room. We are going to redecorate it in blacks, browns, and beiges. Neutral colors are best, because we will be staging our home soon for moving. To start off with here are the supplies,
1. 2 8x10 in Plain wood picture frames from the dollar store, will be using 1 of the frames and both pieces of glass.
2. Tacky glue (was out of hot glue)
3. A wood initial, I chose an A.
4. Fancy scrapbooking paperclamps.
5. Black, ivory, and clear matte finish Krylon spray paint.
6. 4 screw hooks
7. Scrapbook paper, fancy glittery and textured
8. Various Beads
9. Various ribbons
10. Various stencil shapes
11. Scrapbook mounting squares
Now let's get started
First make sure all glass is cleaned and fingerprint free. Next cut scrapbook paper into 6x4 rectangle. Add scrapbook mounting squares to the back, each corner and 2 in between each corner and 2 in the middle. Peel off squares and center onto one of the pieces of glass. Shown here:


Add glue to each corner, I would have added hot glue, (the best for this project in my opinion) but I was out so I used Aleene's Tacky glue. Sandwich 2nd piece of glass over top making sure all corners are even. I then used the paperclamps to squeeze the glass together for drying. Shown here:

 Now, I added the Screw hooks before I took it outside to Spray paint. I needed to use a hammer to gently get the screw started, then twisted them into place. I used 4 and eyeballed the placement.
I also added the paperclamps I used earlier for the
glass and glued them to the frame.

I then painted 3 coats of black satin Krylon to the frame and the initial, then I used the stencils as a negative and laid them down randomly on the black frame, sprayed a little bit and it gave a unique effect.
I sprayed the frame with a final coat of Clear Matte Krylon.

I added the glass to the picture frame, since it does not have a back to it, I had to carefully fold over the staples on the back, but not all the way so I wouldn't break the glass. I added the various beads to the corners. I also tied bows interlocking all the ribbons together. Glued that to the glass in the corner of the 6x4 paper and glued the A right next to it.
Shown here:
Here is the final product, you could then add a picture hanger to the back to hang on the wall.

Related Posts Plugin for WordPress, Blogger...